


How a Professional Privacy Audit and Malware
July 25, 2026


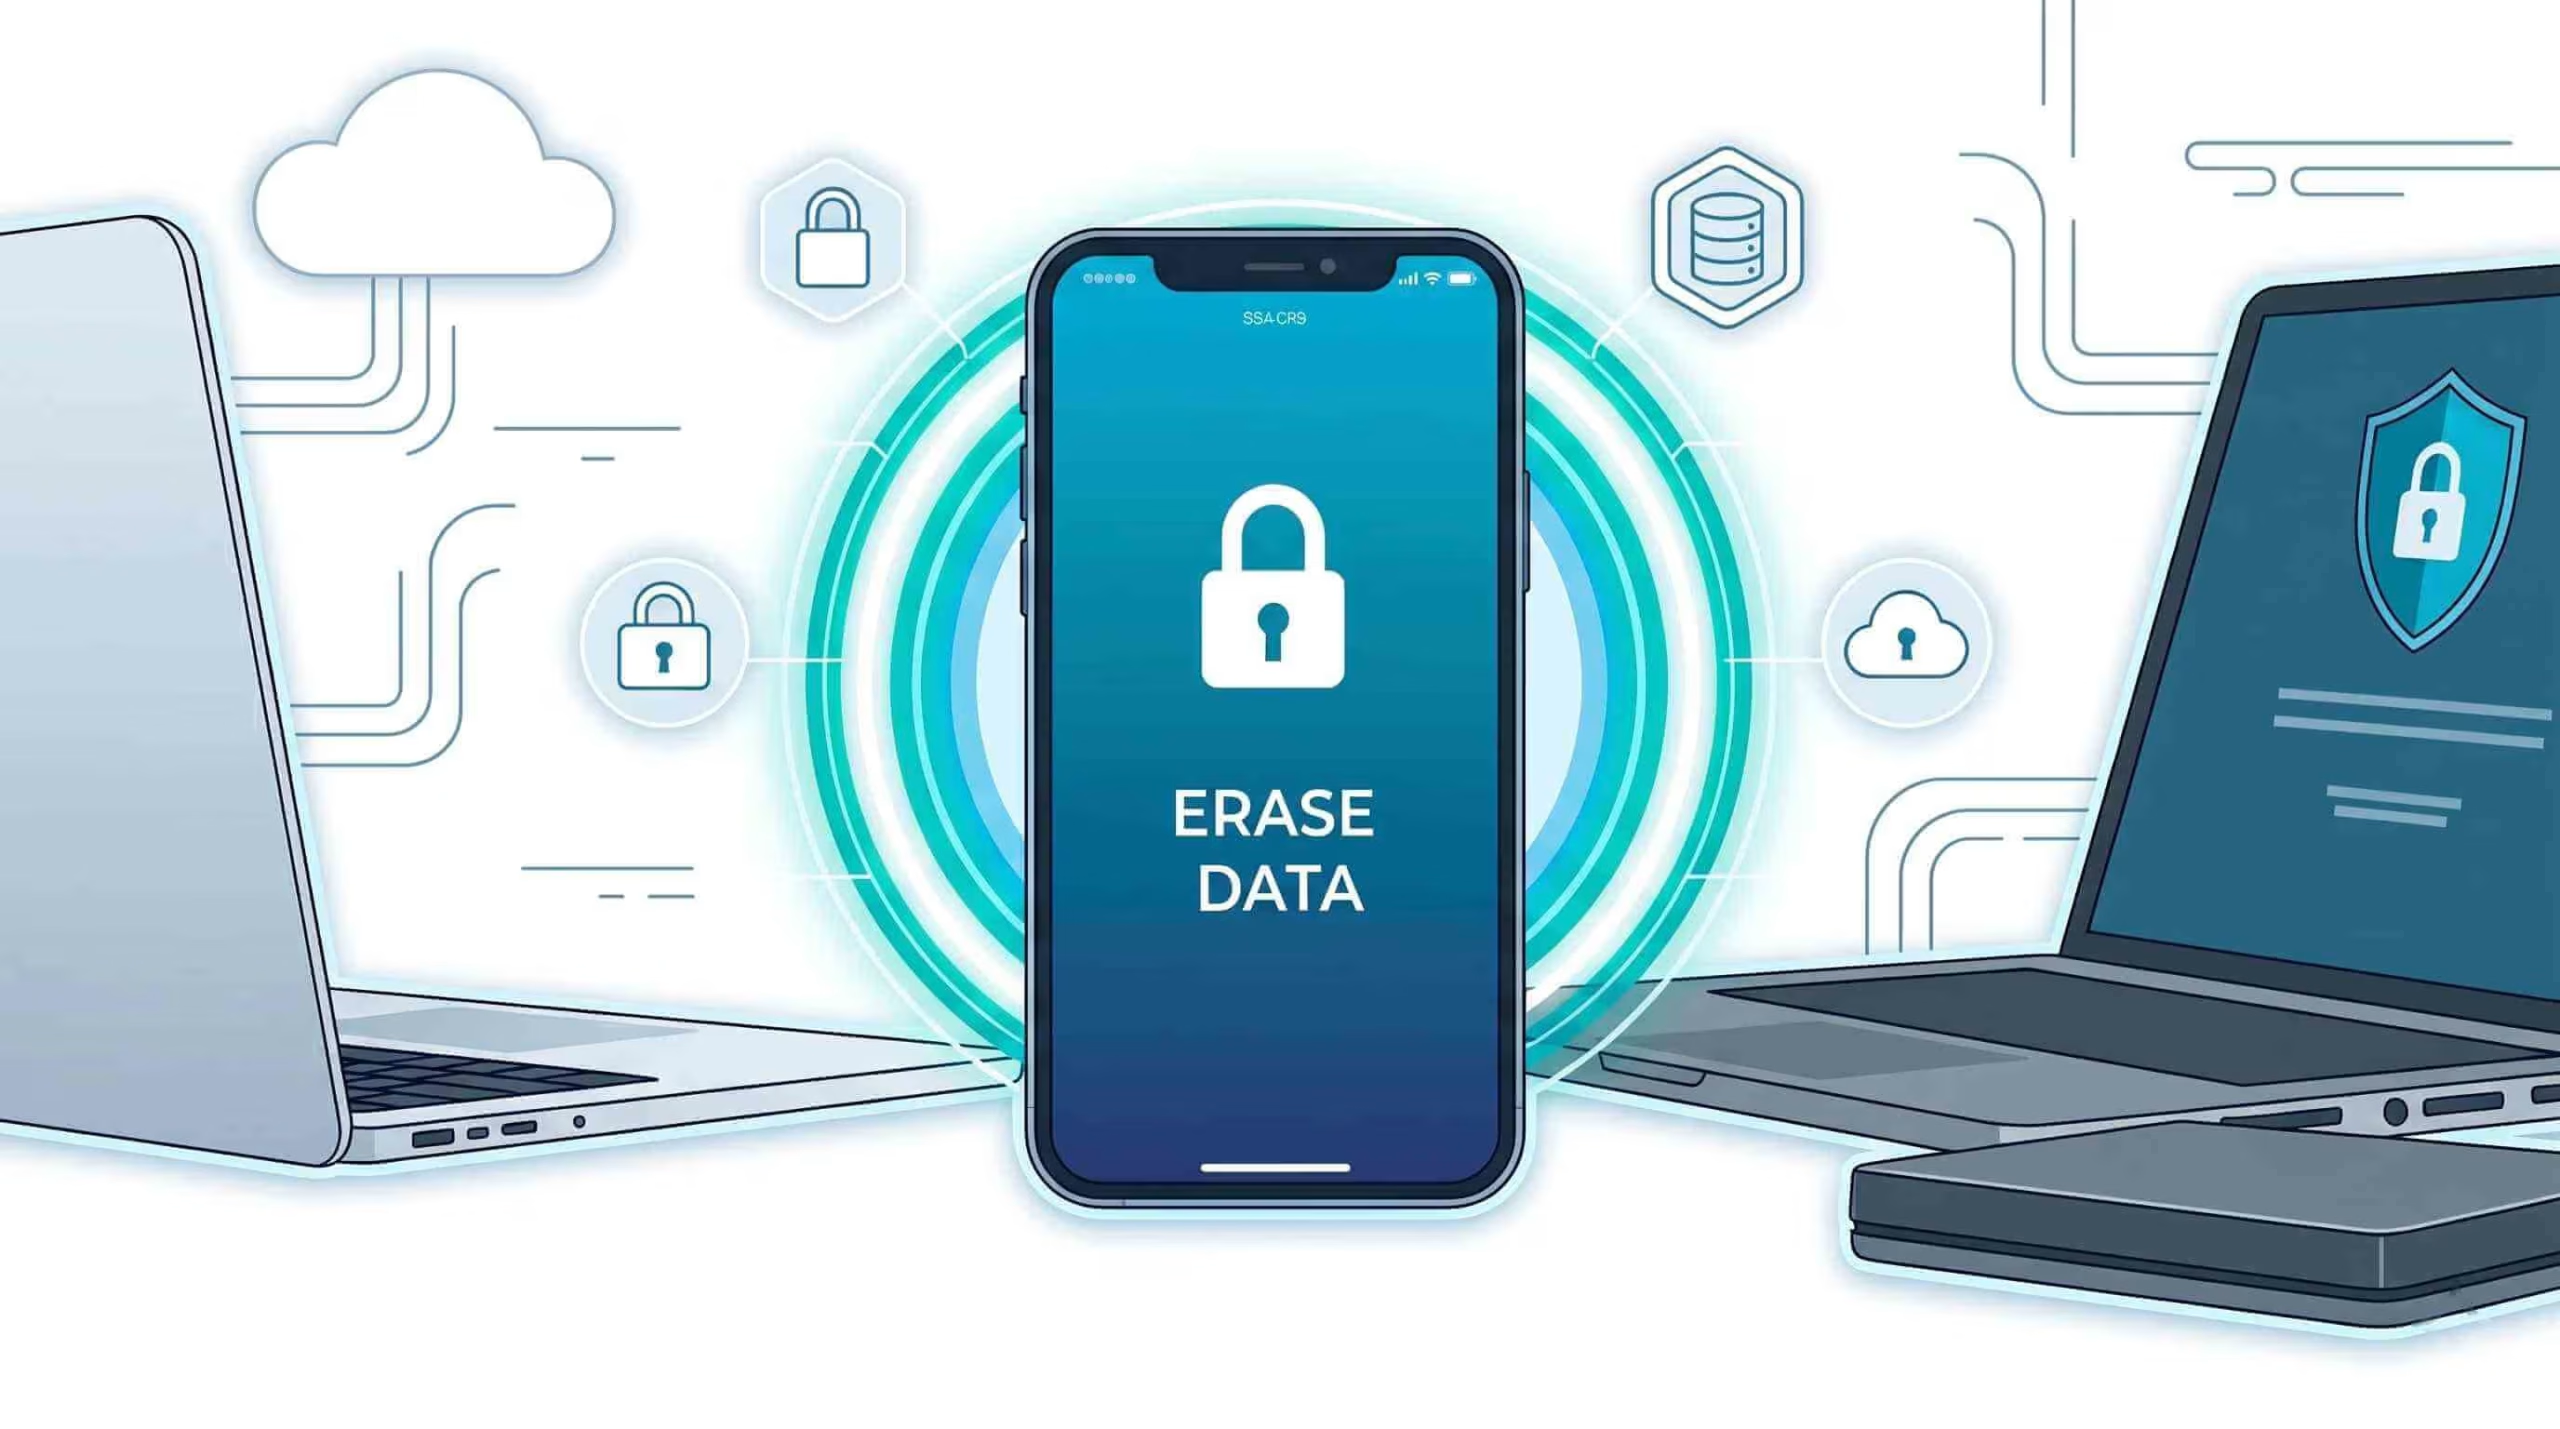
Thinking about trading in, selling, or repairing your phone? Before you hand it over, there’s one super important step you shouldn’t skip wiping your data. Your device holds a lot of private info. It has cherished photos, saved passwords, sensitive emails, and app logins.
You might be surprised at how much personal data you have accumulated! Don’t worry, though! This guide shows you how to safely delete your data from iPhones and Android devices. Plus, it has tips on what to do if you run into any hiccups.
Before selling or trading your phone, clear your data. This protects your privacy and makes your device more appealing to buyers. No one wants to stumble upon someone else’s files or apps! A clean, reset phone is like a blank canvas, ready for its next owner. Without a secure wipe, your cellphone might keep more than you think, like:
The stakes are even higher if you’re sending your phone in for repairs. Even if you trust the repair shop, it’s always better to be safe than sorry. Wiping your data protects your private information, which is important, especially when your device is being repaired. Divide the processing into 2 Steps.
This is the absolute first thing you must do. Your Apple ID connects everything on your iPhone, including your photos, contacts, app purchases, iMessage, and the “Find My” feature. Not signing out keeps your device connected to your account, which prevents the next owner from activating it and could expose your data.
It is a long established fact that a reader will be distracted by the readable content of a page when looking at its layout. The point of using Lorem Ipsum is that it has a more-or-less normal distribution of letters, as opposed to using ‘Content here, content here’, making it look like readable English. Many desktop publishing packages and web page editors now use Lorem Ipsum as their default model text, and a search for ‘lorem ipsum’ will uncover many web sites still in their infancy. Various versions have evolved over the years, sometimes by accident, sometimes on purpose (injected humor and the like).
Why this step is critical:
Privacy Shield: It halts access to your iCloud data immediately, keeping your photos, notes, and other sensitive info private. Turn Off Activation Lock: This security feature prevents theft and stops others from using your iPhone.
Signing out removes it, allowing the device to be set up as new. Deregister Services: Your phone number is now unregistered from iMessage and FaceTime. Future messages and calls will go to your new device, not the old one.
Here’s how to do it (for iOS 10.3 or later):
Before you hit the erase button, confirm that you have saved everything you want to keep! This includes your favorite photos, videos, contacts, messages, app data, notes, and more. You have a couple of straightforward options:
Why you shouldn’t skip this:
Save Everything: Now’s your chance to protect essential memories and information. A good backup makes setting up a new iPhone or restoring your data easy.
iCloud Backup (Wireless Convenience):
Tap Back Up Now. Keep your phone on Wi-Fi until it’s done. (Remember, iCloud offers limited free storage, so you might need more space if you have a lot of data.)
Not sure where to start? Here’s how to back up your iPhone data to your iPhone
Computer Backup (Comprehensive & Wired):
For Mac (macOS Catalina 10.15 or later):
Then, create a strong password. This is highly recommended.
Click Back Up Now.
For PC (Windows) or older Mac (macOS Mojave 10.14 or earlier):
This is the final, most crucial step. It’s not deleting. A factory reset wipes all data, settings, and apps, returning your iPhone to its original, brand-new state and ensuring that the device completely disconnects from all Apple services.
It is not possible to remove the adverb. Your personal info is permanently erased, which means recovery is not possible. Fresh Start prepares the iPhone for its new owner. It lets them set it up like it’s brand new, without any of their digital footprints. Apple’s Method: Here’s how Apple says to get your device ready for sale, trade-in, or service.
Your iPhone will then begin the erasure process, which takes a few minutes. Your data is gone after it restarts and the “Hello” screen appears. The device is ready for its next chapter!
Need help wiping your device? Visit your nearestCellShoppe location and we’ll safely erase your data so that you can feel confident before a repair or resale.
Getting ready to sell, trade in, or repair your Android phone? Before you hand it over, you must ensure all your personal data is completely wiped. Your phone contains sensitive info like photos, messages, passwords, and app logins. You don’t want this data to end up in the wrong hands. Here’s how to securely delete everything from your Android device by following a few simple steps.
Before you erase anything, save the stuff you want to keep. Save your photos, contacts, and important files. You can use Google Drive, an external hard drive, or your computer. This way, you can easily restore them to your new device.
Your Google account connects to many features on your phone. This includes apps, emails, and cloud storage. Signing out ensures that your account is no longer linked to the device.
How to Sign Out:
For an extra layer of security, encrypt your phone before wiping it. This scrambles your data, making it nearly impossible for anyone to recover it after a factory reset.
How to Encrypt Your Phone:
Perform a factory reset.
Now it’s time to erase everything and return your phone to its original factory settings.
Steps to factory reset:
Remember to remove your SIM card and any external SD cards before handing over your phone. These often store personal data like contacts, messages, and files.
Why It’s Important
Securely deleting your data isn’t about privacy but peace of mind. To protect your personal information, follow these steps when upgrading your phone or sending it for repairs:
With this guide, you can hand over your Android phone with assurance. It will be wiped clean and ready for its next chapter!
Use strong passwords: Create strong, unique passwords for each account. For extra security, turn on two-factor authentication.
Wipe Devices Securely: Always erase your data before selling, trading, or repairing your device. Also, remove accounts to keep your privacy safe.
Resetting your device is often the best way to fix software issues or get it ready for sale. Yet, sometimes things don’t go as planned. If you have problems after a reset, this guide will help you fix common issues. Restore your device to optimal performance.
Battery Issues: If your device refuses to reset, it might be due to a failed software update or a hardware issue. Ensure your phone is either fully charged or connected to a power source. Try a hard reset by holding the power and volume buttons. You can also boot into recovery mode and perform a manual reset. Know thegood battery health for the iPhone.
Ensure that your device is charged. If not, plug it in before trying again. A low battery can prevent a reset from completing.
Force a Reset: On most Android devices, hold the power and volume down buttons together for 10 to 15 seconds. For iPhones, use the volume up and down buttons, followed by the side button, until the Apple logo appears.
Recovery Mode: If the reset fails, boot your device into recovery mode. Then, perform a factory reset from there. This method works well for stubborn devices that won’t reset using normal steps.
After a factory reset, some devices require you to log in to the account linked to the phone. This could be your Google or Apple ID. If you forgot your credentials, use Google or Apple account recovery to log in again. Turn off two-factor authentication beforehand to avoid complications.
Google Account: If you forgot your password, use Google’s recovery tool to reset it. This will help you regain access.
Apple ID: If you’re locked out of iCloud or Find My iPhone, visit Apple’s Account Recovery page. There, you can reset your Apple ID password.
Avoiding Further Issues: To avoid getting locked out again, know your account details. Also, turn off two-factor authentication before you reset it.
Devices like iPhones and Samsung phones can stay locked to your account, even after a reset. We call this Activation Lock for iPhones and FRP for Android. You’ll need to enter the correct login details. If you sold the device or had it fixed, contact the old owner or service provider to remove the account.
A factory reset may not always solve problems like slow performance or system bugs. Make sure your phone has the latest software update. If the problem continues, try resetting it again. Screen freezes or app crashes might force you to clear the cache or reinstall apps.
Sometimes, a reset might not completely wipe all data, leaving traces behind. If the reset didn’t work, try third-party data-erasure tools. These tools can help ensure all your data is completely wiped and unrecoverable.
Wipe it clean before selling, trading, or sending your phone for fix. This step protects your privacy and ensures that no personal data remains behind. Whether you have an iPhone or an Android, it may be tricky initially. But don’t worry! By following the proper steps, you can erase your information without risk. Signing out of accounts,
But sometimes, problems can still happen. You might face a failed reset, an account lockout, or ongoing performance issues. If you are facing any post-reset troubles, don’t worry! We have got your back.
Quick Questions!
Erasing your phone’s data protects your privacy, ensuring no sensitive information like photos, passwords, or personal messages remains on the device after it changes hands.
To securely erase data from an iPhone, sign out of your Apple ID, back up important data, and perform a factory reset through the Settings menu to remove all content.
Before erasing your data, back up important files like photos and contacts, sign out of your Google account, encrypt your data for extra security, and then perform a factory reset.
You can back up your iPhone using iCloud or iTunes on a computer. Both methods will save your photos, contacts, app data, and other important information.
Once a factory reset is completed, recovering your data is typically impossible. It’s crucial to back up your data beforehand to avoid losing valuable information.
Go to Settings > Accounts > Google, select your account, and tap “Remove account” to ensure that your Google account is no longer linked to the device.
If you forget your Apple ID or Google account login, use the respective account recovery tools (Apple ID recovery or Google Account Recovery) to regain access.
Open the SIM card tray and carefully remove both the SIM card and SD card. These cards may store sensitive data and should be kept separately from your phone.
If your phone won’t reset, try forcing a hard reset or booting it into recovery mode. If problems persist, consider using third-party data-erasure tools.
Yes, after performing a factory reset and ensuring all data is erased, your phone is safe to sell. Just make sure you sign out of all accounts and remove your personal information.

Director IT and Marketing
Based in Edmonton, Alberta, Dr. MD Samiul Islam is an Information Systems Consultant, Generative AI Specialist, and Machine Learning Engineer. Holding a Ph.D. in Computing Science from the University of Alberta, he specializes in model interpretability, responsible AI frameworks, and scalable MLOps architectures across Azure, AWS, and GCP. Dr. Islam designs production-grade AI pipelines and predictive analytics solutions using PyTorch, TensorFlow, and LangChain. His domain experience spans high-impact enterprise applications, including satellite crop mapping, hydrological flood modeling, and epidemiological data analytics.
July 25, 2026
July 24, 2026
July 23, 2026
July 22, 2026
July 9, 2026
July 9, 2026
Address: 15803 87 Ave NW, Edmonton, AB T5R 4G7, Canada
Phone: +1 587-444-5888
Support


To Grab The Offer, Fill The Form and Submit Now!