


How a Professional Privacy Audit and Malware
July 25, 2026


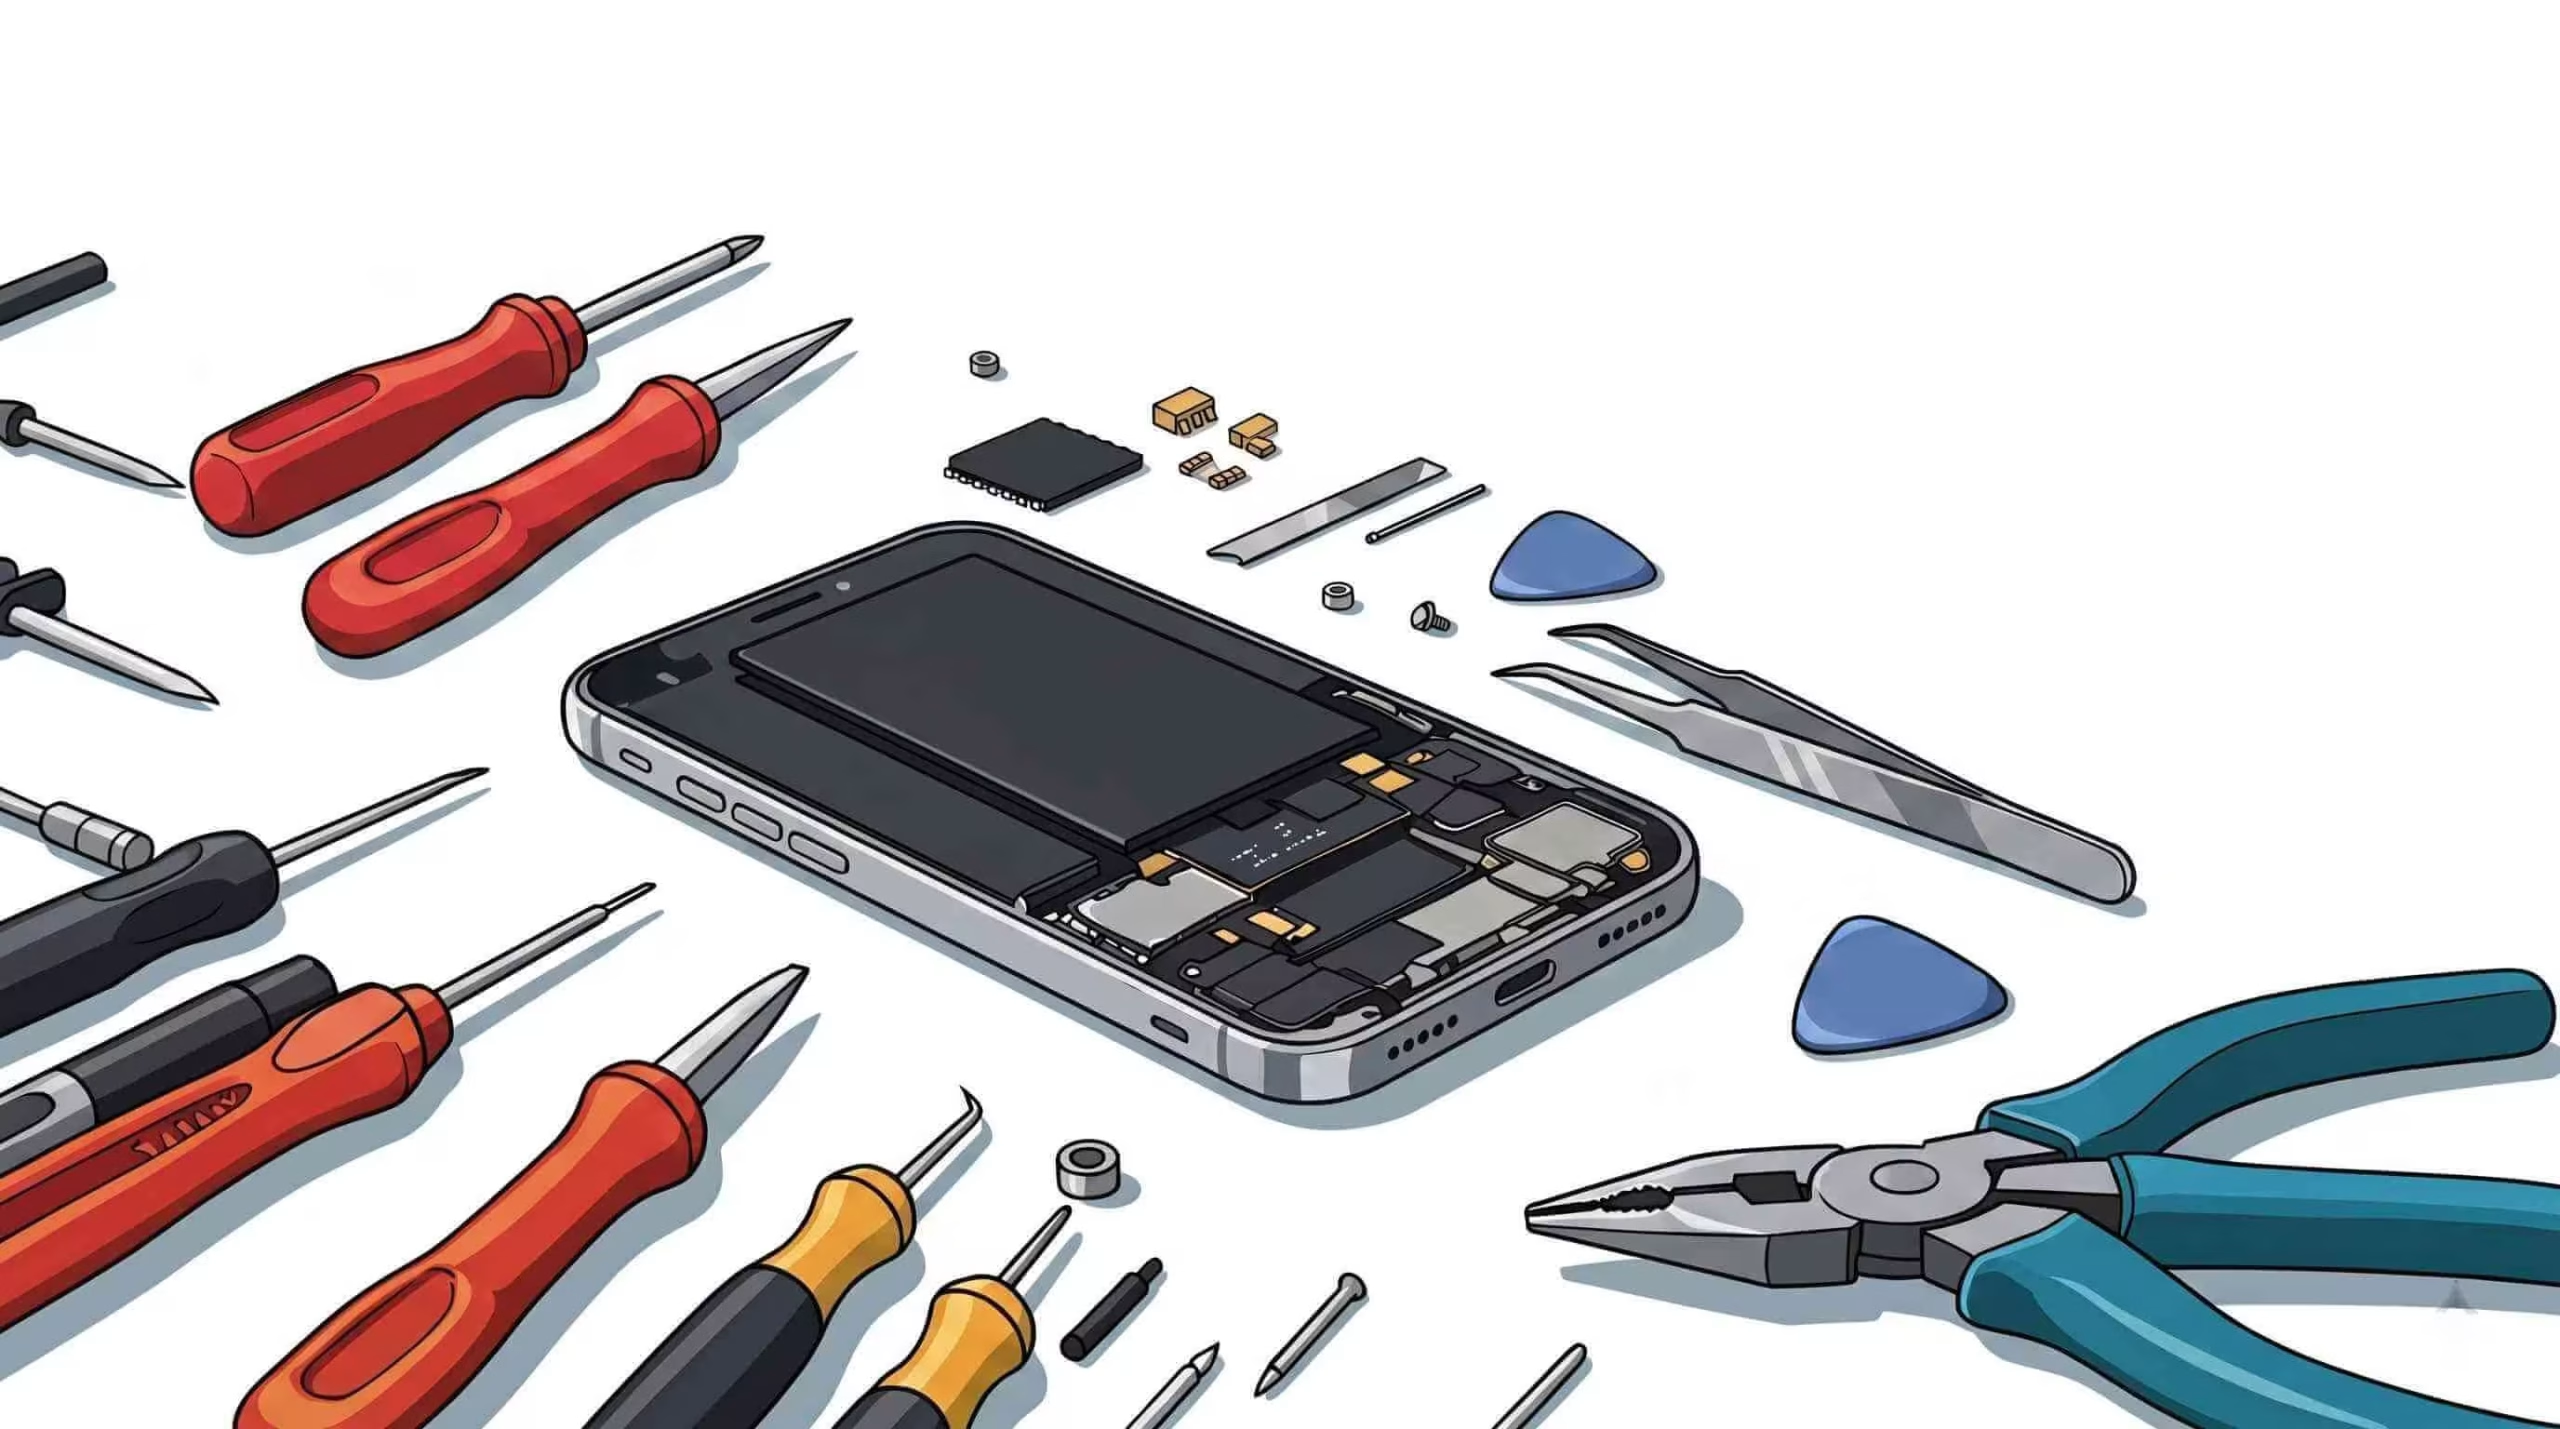
Repairing your smartphone cuts professional fees by up to 70% and empowers you with hands-on technical skills through a step-by-step smartphone repair tutorial that covers every common fault. In this guide, you will discover how to diagnose cracked screens, failing batteries, port faults, water damage, audio and button malfunctions, the essential tools you need, safety precautions, model-specific replacement tutorials, maintenance tips, and general repair principles all organized so you can follow each procedure with confidence and precision.
We begin by identifying fixable issues, then cover tools and workspace setup, and progress through screen, battery, port, water, audio, and button repairs before closing with overarching safety strategies and answers to frequently asked questions. Let’s get started on reducing waste, saving money, and extending your device’s lifespan.
Most DIY repairers encounter five key problems screen cracks, battery degradation, charging port faults, water ingress, and audio/button failures collectively accounting for over 80% of repair needs. iPhone getting warmed up. Understanding these issues helps you apply targeted fixes that restore functionality and prevent early replacements.
The most frequent issues reported by DIY repairers include cracked screens, failing batteries, charging port problems, water damage, and audio/button malfunctions. These issues account for many repair needs, highlighting the importance of understanding and addressing these common problems.
This citation provides context for the article’s discussion of the most common smartphone problems.
These common repairs can lead to cost savings and environmental benefits by preventing full replacements and cutting electronic waste.
A cracked or unresponsive screen occurs when impact shatters the glass or severs display cables, causing touch failure and display artifacts. Inspect the glass for spiderweb fractures and test touch response across corners. If dead zones appear, the digitizer or LCD assembly is likely damaged.
A precise screen replacement restores complete touch sensitivity and visual clarity, saving you from costly replacements. Weather your phone won’t turn on, read the guide for more information.
Battery degradation manifests as rapid power loss, unexpected shutdowns at high charge levels, and battery pack swelling. Use the built-in battery health diagnostic (e.g.,iOS Battery Health or Android Battery Usage stats) to measure capacity percentage. Recognizing these signs allows you to swap in a new lithium-ion battery before performance drops below 80% capacity, improving runtime and device reliability.
A dirty or worn charging port often leads to an intermittent and loose cable fit. Shine a flashlight into the port: bent pins or lint buildup indicate the need for cleaning or port replacement. Testing with multiple cables shows whether the issue is cable-related or port-related. Clearing debris and, if necessary, installing a new port restores consistent power transfer and data connectivity.
Water intrusion corrodes internal connectors and may trigger short circuits. Look for moisture indicators near the SIM tray or under the battery. Symptoms include random reboots, non-responsive keys, and screen flicker. Early detection lets you dry components and replace damaged parts, preventing permanent motherboard failure.
Audio and button failures result from dust ingress, worn flex cables, or dried adhesives. A muffled speaker, silent microphone, or sticky home/power button points to clogged mesh or broken ribbon cables. Cleaning grills or swapping in fresh flex assemblies resolves these malfunctions and restores complete user interface control.
Successful DIY repair depends on having the right tools, following electrostatic discharge (ESD) protocols, and maintaining a clean workspace. Proper tool selection and safety measures prevent further damage and ensure a secure repair environment.
Tool | Purpose | Example Model |
Pentalobe/Phillips Screwdrivers | Remove external and internal screws | iFixit Precision Driver |
Plastic Pry Tools/Spudger | Gently separate screen and connectors | Nylon Spudger Kit |
Suction Cup | Lift the display assembly intact | Micro Suction Cup |
Tweezers | Handle small screws and cables | Stainless-Steel Tweezers |
Anti-Static Wrist Strap | Prevent ESD damage to electronics | Grounded ESD Strap |
Each tool plays a specific role in safe disassembly, cable management, and part handling so you can complete repairs without causing collateral damage.
Every beginner should start with a small precision driver set, spudgers, and a suction cup. Experts expand their kit with heat guns for adhesive softening, magnifiers for inspection, and micro-soldering stations for advanced connector repairs. Stocking basic and advanced instruments ensures you can address nearly any component fault.
Begin by powering off and removing the pentalobe screws at the lightning port. Apply gentle heat to soften the adhesive, then use a suction cup and sludger to lift the front panel. Disconnect the battery and display connectors, transfer the home button and camera modules to the new screen, and reconnect all cables before resealing with fresh adhesive. This process restores screen integrity and touch response.
Samsung Galaxy and Pixel phones use similar procedures: remove back-panel screws, lift with a heat gun, disconnect flex cables, and remove the old display. Transfer sensors and front cameras to the new module. Reassemble in reverse order and verify display and touch functionality. Read Phone screen replacement DIY guide.
A dedicated screen repair toolkit includes the driver set, suction cup, spudgers, replacement assembly, adhesive strips, and cleaning supplies each corresponding to specific disassembly and reassembly steps, ensuring a clean bond and reliable operation.
If touch is unresponsive or the display shows lines, check the connector seating and inspect for bent pins. Reopen the device, reseat cables firmly, and clean connector interfaces with isopropyl alcohol. Proper cable alignment resolves most post-repair display faults.
A tempered glass protector and a shock-absorbent case shield the display from impacts and scratches. Regular cleaning with a microfiber cloth prevents grit buildup along screen edges and maintains optical clarity. Clean your phone in regular maintenance.
Successful repairs include understanding core principles: safe disassembly, data protection, component awareness, and risk management.
First, remove all external screws, apply calibrated heat to soften the adhesive, and use plastic prying tools at panel seams to avoid bending metal frames or cracking glass..
Familiarize yourself with the screen assembly, battery pack, motherboard, charging port, speaker/microphone modules, and flex cables. Knowing each part’s role aids in accurate troubleshooting and targeted repairs.
Use cloud backups or local PC sync tools to secure contacts, photos, and app data. A complete backup prevents data loss if a component swap leads to unexpected errors. Read the complete data backup guide.
Risks include ESD damage, stripped screws, connector breakage, and adhesive overapplication. Mitigate these using ESD gear, magnetic trays, and step-by-step procedures.
If repairs require micro-soldering or logic board rework, or if your device is under warranty and you risk voiding coverage, entrusting specialists preserves device integrity and manufacturer support.
Quick Questions!
Repairing a cracked screen yourself is cost-effective for most users. You can save up to $150 in labor fees while building technical skills and extending device lifespan through precision replacement.
A DIY battery replacement typically costs between $20 and $50 for an OEM-quality pack, compared to $80–$120 at retail repair shops. This delivers significant savings and straightforward installation.
Though severe board-level damage may require expert intervention, you can often revive a water-damaged phone by promptly drying components, cleaning corrosion, and replacing affected connectors.
A basic toolkit includes precision screwdrivers, spudgers, a suction cup, tweezers, and an anti-static wrist strap—each enabling safe disassembly, component handling, and reassembly.

Director IT and Marketing
Based in Edmonton, Alberta, Dr. MD Samiul Islam is an Information Systems Consultant, Generative AI Specialist, and Machine Learning Engineer. Holding a Ph.D. in Computing Science from the University of Alberta, he specializes in model interpretability, responsible AI frameworks, and scalable MLOps architectures across Azure, AWS, and GCP. Dr. Islam designs production-grade AI pipelines and predictive analytics solutions using PyTorch, TensorFlow, and LangChain. His domain experience spans high-impact enterprise applications, including satellite crop mapping, hydrological flood modeling, and epidemiological data analytics.
July 25, 2026
July 24, 2026
July 23, 2026
July 22, 2026
July 9, 2026
July 9, 2026
Address: 15803 87 Ave NW, Edmonton, AB T5R 4G7, Canada
Phone: +1 587-444-5888
Support


To Grab The Offer, Fill The Form and Submit Now!